Techniques for Bringing Memories Back to Life: Repair Old Damage Photographs
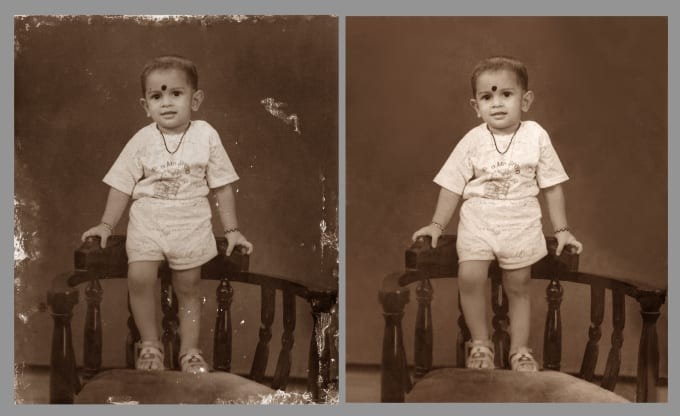
Have you ever came across an old, battered picture-filled dusty box? Though they bring up a flood of memories, the kind that tragically have been affected by water damage. You want to restore old damaged photos, hence this is a conflicting emotion. Still, there is hope; thus, avoid panic! This book will take you through the process of recovering those close memories and investigate the art of photo restoration.
Restoring photos damaged by water needs both patience and attention as well as some fundamental tools. Before you start this route, gather distilled water, a soft brush, fresh microfiber towels, and a scanner or camera.
First and most carefully sort the damaged photos. Their delicate state requires soft hands and careful approach. First, remove any surplus water remaining hanging on the surface. Avoid damaging the picture by scraping; this could do additional harm. Instead, gently dab the dampness with a fresh microfiber cloth.
Once the extra water has been turned off, it’s time to address any last stains or blebs. Starting using a little brush, softly run around the surface of the picture. This helps dirt and garbage that might have accumulated over years to be loosen. Be patient and slow down since this stage sets the foundation for a proper restoration.
It is now time to dip the photo under distilled water. After filling a fresh container with distilled water, gently slide the damaged photo such that both sides are totally submerged. Let it soak a few minutes so any difficult stains could be released by the water.
Once the image has soaked, gently remove it from the water and continue to gently clean the surface with the same soft bristle brush. Water and brushing will assist eliminate stains and grime, thereby gradually returning the picture to its former brilliance.
Once the brushing is done, rinse the picture under a gentle stream of distilled water to remove any remaining residue. Apply moderate water pressure instead of strong ones; this will help to avoid damage much more. Patience is really important across the full process.
Rinish; then, let the picture air dry after laying it on a new microfiber cloth. Avoid strong sunshine or heat since these could distort or ruin the image. Instead, let the image progressively fade over time as nature works her wonders.
Once the photo dries, digitalizing it for long-term preservation comes next. Either scan the rebuilt image or grab a high-quality camera shot. Acting as a backup, this digital copy will protect your priceless memories for following generations.
In the continually changing area of technology, restoring old damaged photographs has become more readily available. Several tools and solutions especially meant for photo restoration are easily available on several software and online sites. These tools provide additional retouching and editing features as well as help to raise the quality of the rebuilt image.
If fixing photographs damaged by water seems like too much work, unwind. Professionals in the forefront of this discipline are many and skilled in overcoming the difficulty of photo restoration. They have the tools and know-how needed to expose the treasured memories trapped in damaged images.
Restoring old damaged pictures requires patience and gentle handling. Using these rules and proper tools will enable you to revive those priceless memories. Every photo tells a story, hence by giving them new life you are preserving some of history for next generations. Thus, begin your journey of photo restoration and witness as the past comes forth before your very eyes.
Advice for fixing old damage in torn and faded pictures
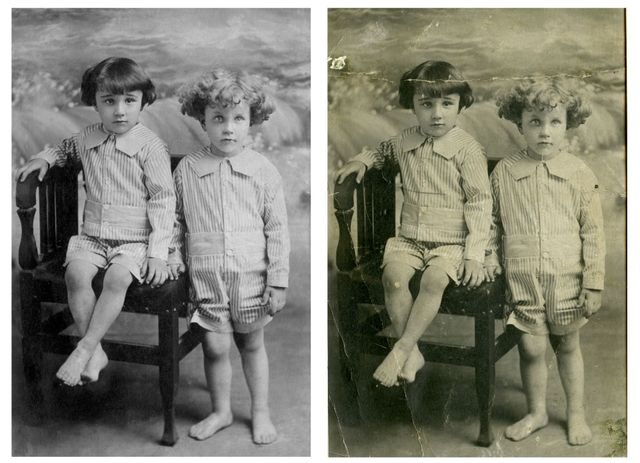
Do you have a priceless collection of fading but generally good old photos? Perhaps with time they have split, faded, or become damaged. You have nothing to worry about. With some labor and some helpful guidance, these valuable memories can be given new life. This page will walk over numerous techniques to help you restore the attractiveness of your fading and ripped images.
Go steadily and gently.
Restoring old photos is a labor-intensive process requiring both patience and attention to detail. Avoid rushing through the repairs since it could lead to permanent mistakes. Take your time working purposefully and carefully review every inch of the image.
Starting with a Digital Copy
Starting with a digital copy enables you to avoid further damage to the original photograph. High-resolution scanning will enable you to find even the most smallest details. Starting with this digital copy, which will also let you test several techniques without compromising the original, your restoration will begin.
heal wrinkles and rips.
Digital editing tools let one straighten or repair crumpled images. Negotiating the complexities of the program carefully will enable you to heal the broken areas fast. Blender the ragged edges together with a clone stamp tool or healing brush. Remember to enlarge for a closer inspection so that your repairs are exactly accurate.
Bring Back Colors That Have faded.
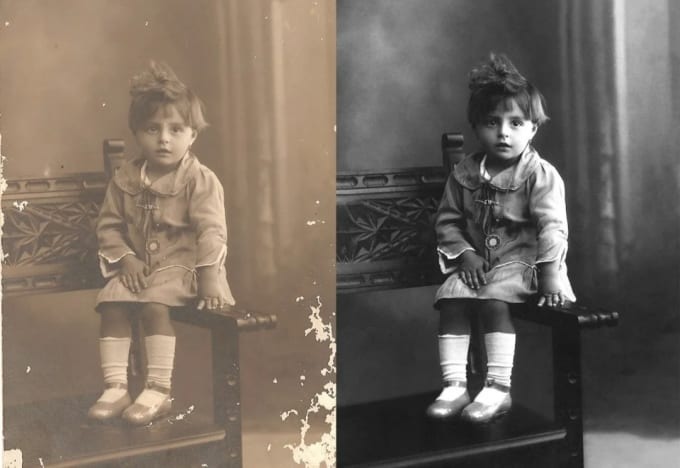
Faded colors are a common issue with vintage pictures. Fortunately, the brightness, contrast, and saturation controls in your editing program will assist you to fix this. Take care not to oversaturate or overxpose the image since this would create an unnatural look. Try to find a natural style while yet energizing the colors.
Removal of Dust and Scratch Marks
On vintage photos, one often notices scratches and dust patches. Remove them with the content-aware fill tool or spot healing brush available in your editing program. These tools will help you to quickly eliminate unwanted blebs, therefore improving the look of your image.
See Expert Advice
If you have exceptionally valuable or delicate photographs or if the restoration process seems challenging, visit a professional. Within the realm of restoration, experts in the skill of breathing fresh life into damaged images exist. They have refined their skills and have access to some instruments geared to enhance even the toughest photographs.
These techniques and ideas can allow you to efficiently fix your fading and shredded pictures. Remember, the goal goes beyond only repairing the damage to reveal the secrets and stories contained inside these incredible images. With little time and work, you may bring these memories back to life so that they will be valued in your family for following generations.