How to Troubleshoot Common Issues in AI Photo Restoration
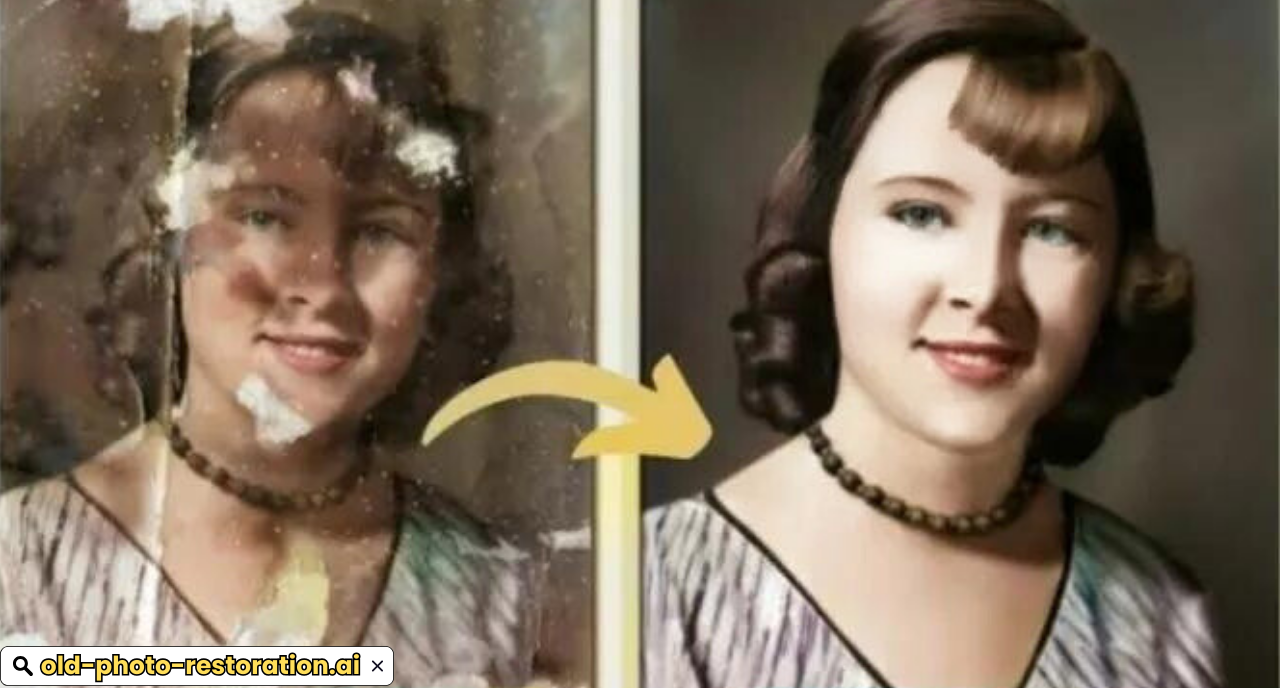
AI photo restoration has become a powerful tool for preserving and enhancing old, damaged images. While these tools can be incredibly effective, they’re not infallible. Issues can arise, from blurry results to unrealistic color palettes. In this guide, we’ll explore some common challenges and provide practical solutions to help you achieve optimal results.
However, as with any technology, users may encounter challenges that can affect the quality and accuracy of the restored images. This guide aims to address common issues in AI photo restoration and provide practical solutions to help you overcome them, positioning you as a resourceful expert in this field.
Understanding the Basics of AI Photo Restoration
Before diving into troubleshooting, it’s important to understand how AI photo restoration works. AI tools utilize deep learning algorithms to analyze and process images. These algorithms are trained on large datasets of photographs to recognize patterns and restore images by correcting defects such as blurriness, color fading, and damage.
Common Issues and Solutions
-
Resolution Issues
- Problem: The restored image is blurry or pixelated.
- Solution:
- Check the original image resolution: Ensure it’s high enough for quality restoration.
- Adjust the AI tool’s settings: Many tools allow you to control the output resolution. Experiment with different settings to find the best balance between size and clarity.
- Consider upscaling: If the original image is low-resolution, try using an AI upscaling tool to increase its size before restoration.
-
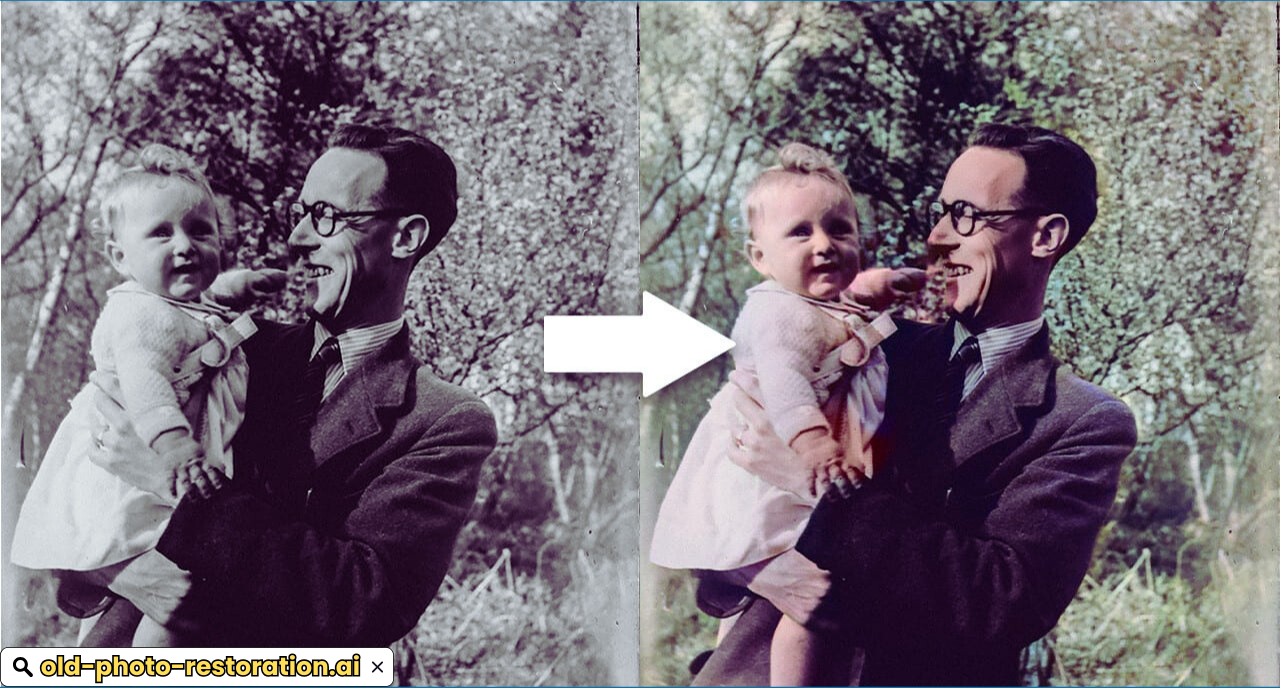
Color Inaccuracies
- Problem: The restored image’s colors appear unrealistic or distorted.
- Solution:
- Use a reference image: If possible, compare the restored image to a known-accurate photo of the same scene or subject.
- Adjust color settings: Many AI tools offer color correction options. Experiment with these settings to achieve a natural look.
- Consider manual color grading: For more precise control, use a photo editing software to manually adjust the colors in the restored image.
-
Artifacting
- Problem: The restored image contains unnatural artifacts, such as halos or noise.
- Solution:
- Reduce noise: If the original image is noisy, try using a noise reduction tool before restoration.
- Experiment with AI tool settings: Some tools have settings to control artifacting. Adjust these settings to minimize their appearance.
- Consider manual retouching: In severe cases, you may need to manually remove artifacts using a photo editing software.
-
Object Distortion
- Problem: Objects in the restored image appear distorted or unnatural.
- Solution:
- Check the training data: Ensure the AI tool was trained on a diverse dataset that includes similar images.
- Experiment with different tools: Try using a different AI tool or adjusting its settings.
- Consider manual adjustments: If necessary, use a photo editing software to correct any distortions.
-
Unnatural Textures
- Problem: The restored image’s textures appear unrealistic or overly smooth.
- Solution:
- Adjust texture settings: Some AI tools have settings to control texture detail. Experiment with these settings to achieve a natural look.
- Consider manual texturing: If necessary, use a photo editing software to add or modify textures in the restored image.
Conclusion
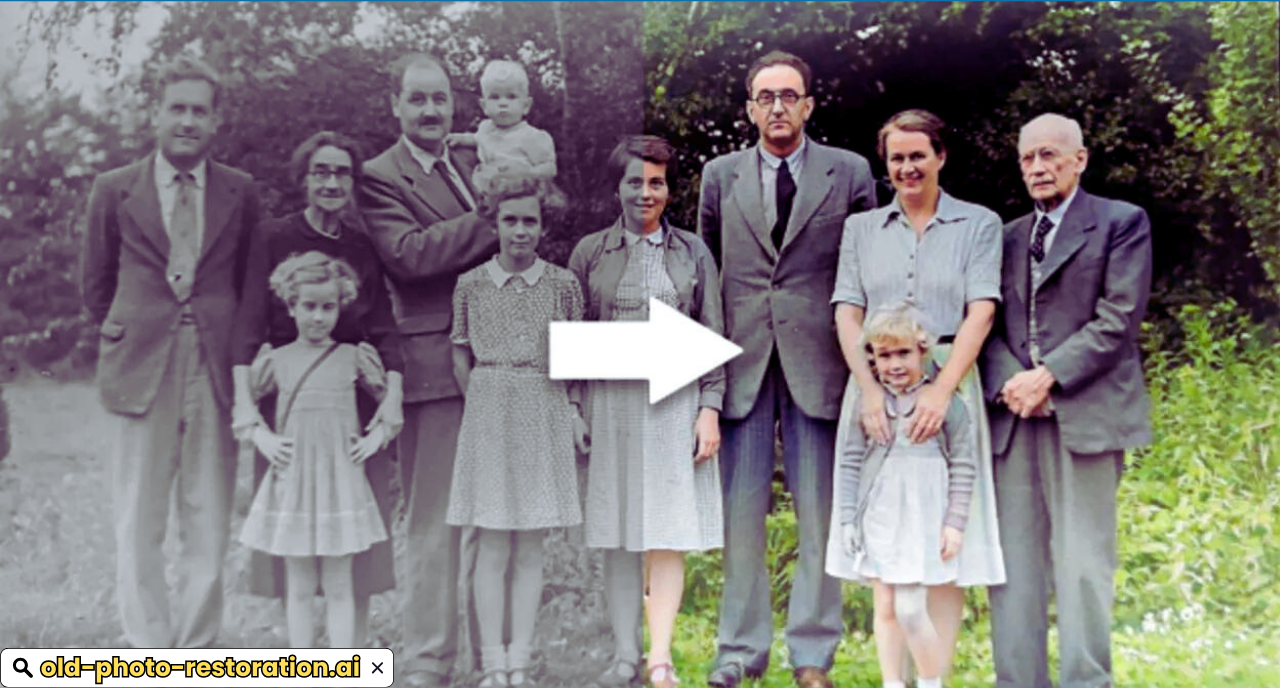
AI photo restoration is a powerful tool, but it is not without its challenges. By understanding common issues such as resolution problems, color inaccuracies, artifacts, over-smoothing, facial feature misalignment, and background restoration challenges, you can effectively troubleshoot and overcome these obstacles. By combining AI with manual techniques and utilizing advanced tools, you can achieve high-quality restorations that bring old photos back to life.
By following this guide, you position yourself as a helpful resource for those facing difficulties in AI photo restoration, providing them with the knowledge and tools needed to achieve the best possible results. Whether you’re a professional restorer or an enthusiast, mastering these troubleshooting techniques will enhance your ability to produce stunning, accurate restorations that preserve precious memories for generations to come.
FAQs
- What should I do if my AI photo restoration results in a blurry or pixelated image?
Answer:
If your AI photo restoration results in a blurry or pixelated image, consider the following steps:
- Start with a High-Resolution Scan: Ensure that you are working with the highest possible resolution when scanning your original photo. A higher resolution provides more detail for the AI to work with.
- Upscale the Image Carefully: Use the upscaling feature in your AI tool, but avoid excessive upscaling as it can introduce additional artifacts. Experiment with different levels of upscaling to find the optimal setting.
- Combine Multiple Scans: If you have multiple scans of the same photo, combine them to increase the overall resolution. This can help improve the clarity of the final restored image.
- How can I fix color inaccuracies in AI-restored photos?
Answer:
To address color inaccuracies in AI-restored photos, follow these steps:
- Manual Color Correction: Use photo editing software like Adobe Photoshop or GIMP to manually adjust colors. This allows you to correct any color mismatches and achieve more accurate results.
- Use Reference Images: If possible, compare the restored photo with reference images from the same period or location to guide your color adjustments.
- Adjust AI Settings: Some AI tools have adjustable settings for color restoration. Experiment with these settings to improve the color accuracy before finalizing the restoration.
- What can I do if my restored photo has visible artifacts or distortions?
Answer:
To address artifacts or distortions in a restored photo, consider these strategies:
- Pre-Process the Image: Remove obvious defects like scratches or stains before applying AI restoration. This reduces the likelihood of the AI misinterpreting these elements.
- Selective Restoration: Instead of applying the AI restoration to the entire image, focus on specific areas that need enhancement. This can help prevent over-processing and reduce the appearance of artifacts.
- Post-Processing Cleanup: After the AI restoration, use photo editing software to clean up any remaining artifacts. Techniques such as noise reduction, sharpening, and cloning can help improve the overall quality of the restored image.