It is not a new thing to have issues when trying to edit photos. Sometimes, we will so direly need to get the image fixed to proceed. Well, to understand that type of feeling, we will show you how to auto-fix your photo in Photoshop. Even if you don’t have any experience, we assure you that you will be able to fix your photos in Photoshop, given that you can concentrate fully and go through this post carefully. Here, we will give a step-by-step tutorial for fixing photos using Adobe Photoshop.
How to Auto-Fix Photos in Photoshop
Adobe Photoshop can be a bit tricky to understand, especially if you’re using it for the first time, and with this, it would be hard to explore its features. Therefore, here are some simple guidelines you can follow to auto-fix your photo in Photoshop.
1. Open the Photo in Adobe Photoshop
After launching the app, simply drag and drop the photo on its interface or head to its File Open feature to browse and load the photo in Photoshop.
2. Make Required Changes
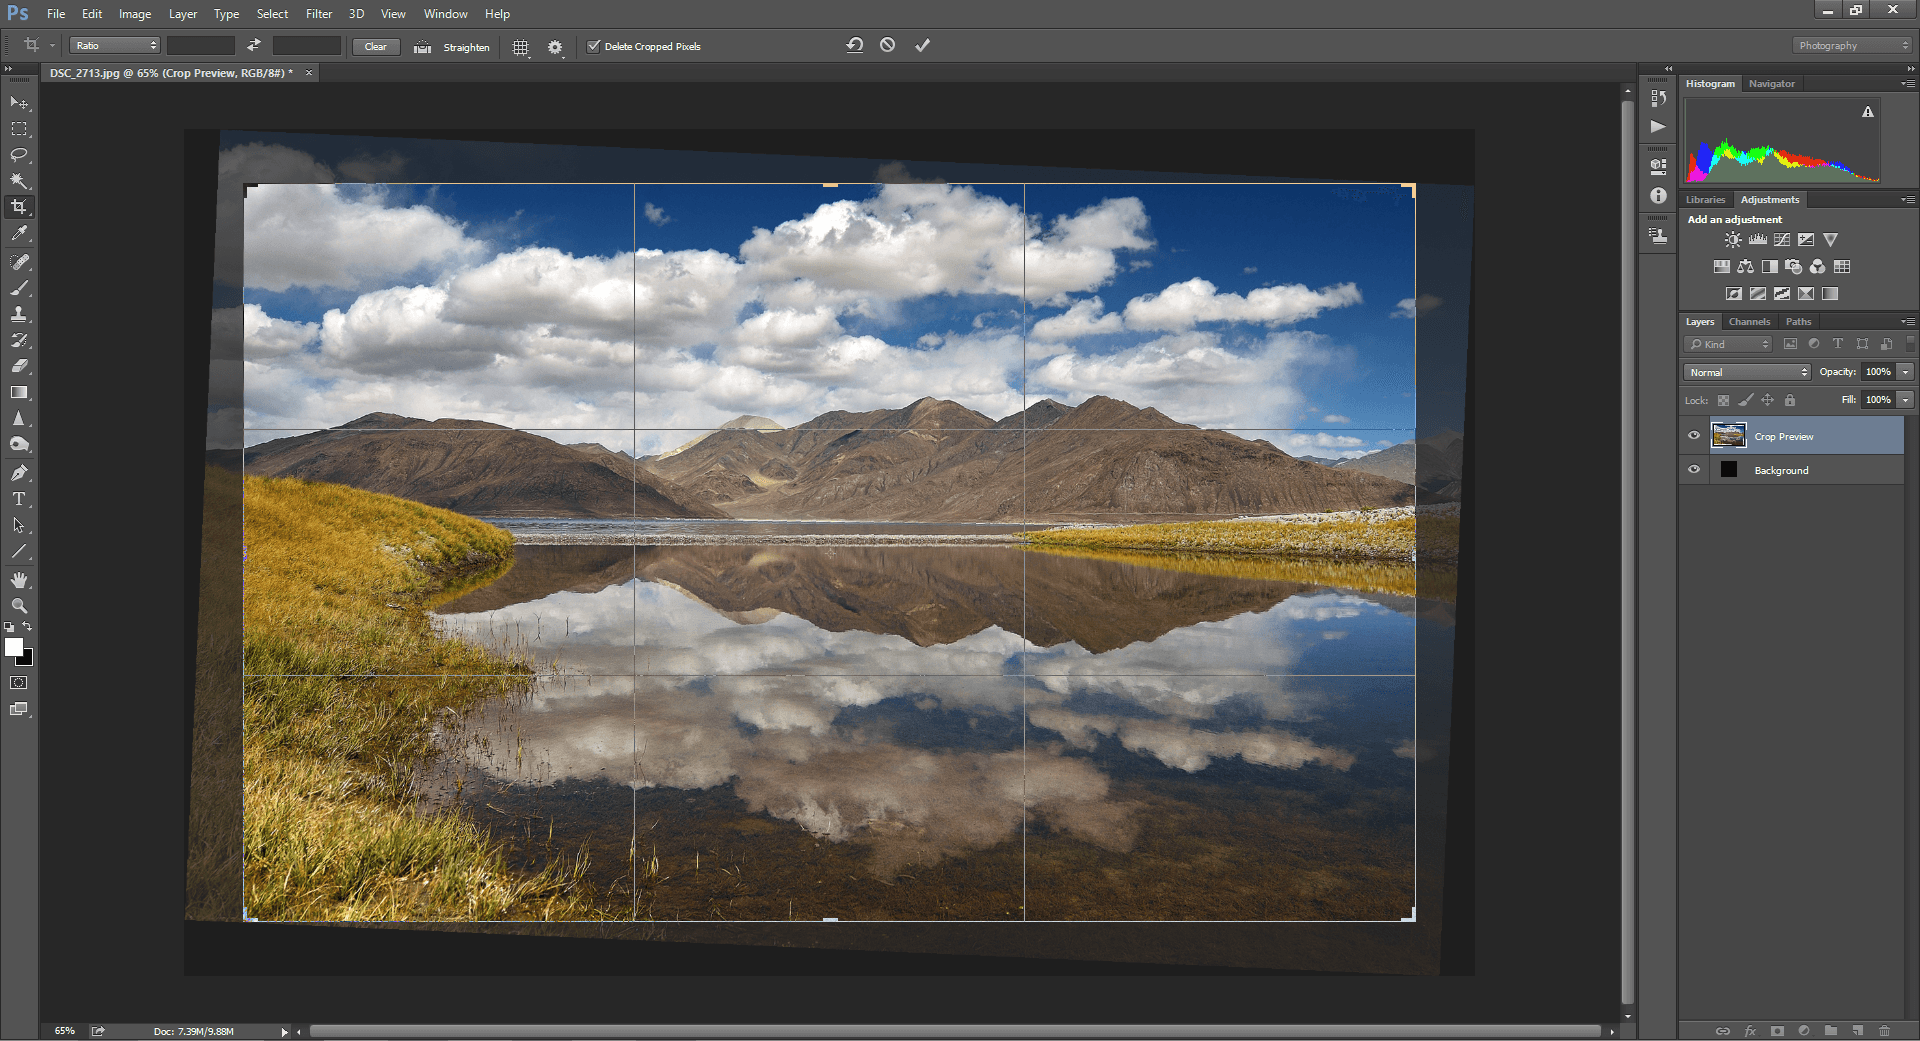
The next thing to do after loading the photo is to make every required change by working on its quality. For example, you can use the ‘Crop’ icon to choose the region that you wish to keep and the one you need to eliminate.
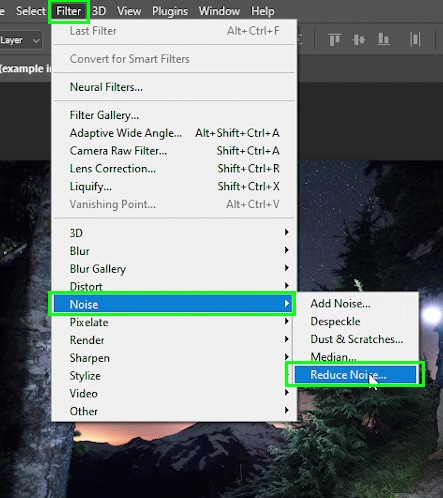
3. Reduce Noise in the Picture
Whenever you have made every one of the minor changes in your photo, you are left with fixing the damaged parts. One of the significant issues that individuals experience is the presence of undesirable noise in their photos. To fix this, you can simply go to Photoshop’s ‘Menu Filter Noise’ and use the ‘Reduce Noise’ button. This will open another spring-up option that you can use to control how much color and luminance noise is in your photos. Photoshop will consequently lessen the noise from your photographs for the chosen level and will allow you to see the outcomes.
4. Make Color Adjustments and Corrections
If it’s an old picture, there is a high chance that its coloring will be saturated. Fortunately, Adobe Photoshop allows for adjusting the coloring of the image or using its automatic color correction feature.
All you need to do in this case is to go to the ‘Adjustment Layer’ icon in the Layers panel and use the ‘Photos Filter’ option. Likewise, you find it under the Image Adjustments Photo Filter field. Subsequently, you can tap on the ‘Filter’ menu from the side and choose the color to adjust. You can also pick warming or cooling filters to change the general tone of the picture. If, by any chance, you need it, you can likewise tap on the color square to pick a color for the custom filter.
5. Heal the Damaged Spots in the Image
Another thing you want to look out for is the fact that your photo can likewise have various spots that could be damaged or pixelated for various reasons. Fortunately, Adobe has an incorporated healing brush that can assist you with fixing damaged parts of a photograph in Photoshop easily. Once the photo is loaded in Photoshop, head to the sidebar and use the healing icon. From here, you can pick either the spot healing tool or the standard healing brush tool.
6. Work on the Background and Other Components
Sometimes, the general background of a photo can likewise be damaged or have a few undesirable spots. Worry not, as you can easily fix it by using the ‘Patch’ tool. You will find the patch tool in the sidebar options in Photoshop, and click on the Patch Tool under the healing option. The icon would be changed to a tassel, and with that, you can simply choose the region in the background (or some other component) to advance.
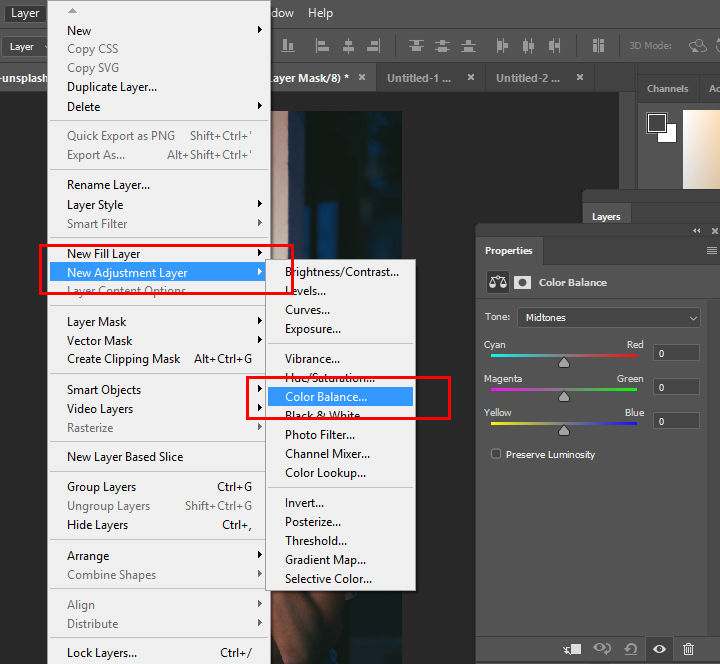
7. Work on its Tone and Energy
The last step to fixing an image in Photoshop is to modify the general saturation, tone, hue, and other effects in the picture. You can access these features in the Menu Image Adjustments and click on options like Color Balance, Exposure, Hue, saturation, or Vibrancy. This will then open a dedicated pop-up feature that you can use to change the general tone and vibrancy of the photo.
8. Export the Fixed Photo from Photoshop
That is all there is to it! Whenever you have fixed your picture, you can proceed to export it from Photoshop in a preferred format. Simply head to its Menu File Export option and save the image in any preferred format of your choice.
Takeaway
We hope that, after following this guide, you can now fix your photos in Photoshop. We advise you to follow the steps listed above strictly to get the best results for image restoration. Furthermore, we wish you the best of luck!